Getting Started with JavaScript Linting in VS Code
In this article, I will show you how to get started with ESLint in Visual Studio Code.
Linting tools automatically analyze your code for errors and formatting issues. This is great for keeping your code nice and tidy while also warning you for potential errors.
If you are working in teams, this is a great way to enforce the same coding standard so the code looks similar no matter who is coding.
Setup ESLint in our Project
To get started, make sure you have installed node.js and NPM.
Let’s start by adding a new folder and initialize our app with NPM. We need this to add dependencies from ESLint to our project.
npm init -yThe -y option is for automatically choose the default options.
Next, let’s install ESLint. We choose to install this globally, but you can also install this just for your local project.
npm install eslint -gWe then initialize our ESLint.
eslint --initNext, we get a few questions we need to answer for our project.
Here we choose how we would like to use ESLint. You can just use it to highlight syntax issues if you want. We want ESLint to do it all! Check syntax, find problems and automatically enforce code style.

Next, we choose what type of modules our project uses. JavaScript modules are mostly used in front-end applications with frameworks like React. CommonJS are mostly used in node applications I.E. an express backend.

Since we are making a node application, we will not use a framework.

We will only use JavaScript (es6), so we choose no on TypeScript.

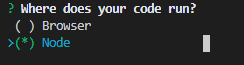
As said before, we will run a Node application
Next, we can choose to use an existing popular style guide, which are big well-established standards with well defined coding styles.
We can also answer questions about your style. This will ask questions about your project and your preferences.
Lastly, we can have ESLint inspecting our JavaScript files. This option will inspect our existing JavaScript files, and try to create a config based on those.
We will choose “Use a popular style guide” for this example.

The biggest and most popular style guide is Airbnb.
Read more about the Airbnb style guide here.

We want out config file to be in JSON format.

Finally, we just need to install the dependencies needed.

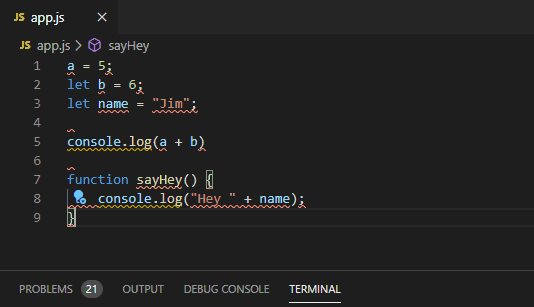
To show how linting works in VS Code, I will create an app.js file with the following code:
a = 5;
let b = 6;
let name = "Jim";

console.log(a + b)

function sayHey() {
    console.log("Hey " + name);
}
I have deliberately added som formatting/error issues in this code. However, when adding this code to VS Code, I get no feedback on issues.

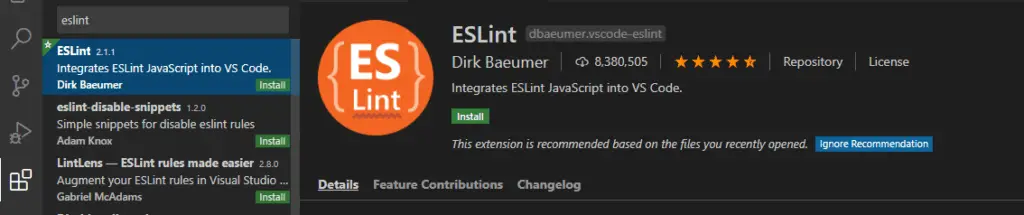
In order to get this feedback, we need to install the ESLint extension in VS Code.
Go to the extension section, search “eslint” and click install.
When we go back to our app.js file, we will see a ton of issues.
If you notice in the bottom left corner, we can see we have 21 problems.
Click on Problems to get a list of our code issues.
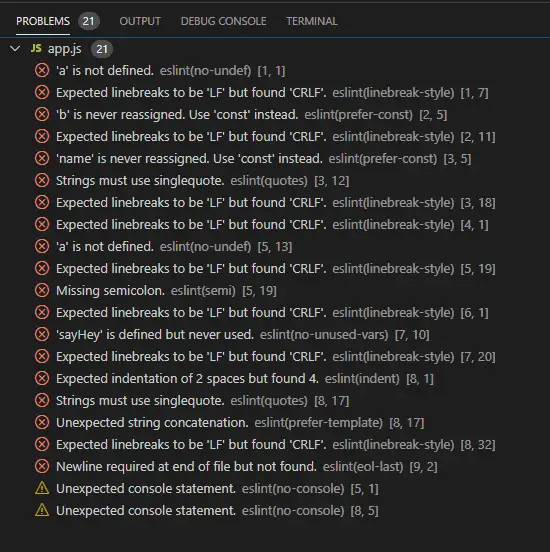
We can see more details of our issues by hovering over our code.
We can fix this manually if you want. But if you are lazy (like me), you can setup VS Code to automatically fix your linting issues as you type.

How to setup VS Code to Automatically Fix Issues
Go to your settings.json file by pressing Ctrl+P and write settings.json (cmd + p on mac).
Add this property in the file:
"editor.codeActionsOnSave": {
    "source.fixAll.eslint": true
}
A file .eslintrc.json got created when we initialized our ESLint in our project. In this file, we can define our own rules. For instance:
"rules": {
    "linebreak-style": 0,
    "indent": ["error", 4]
}
You can find a list of all the linting rules here: https://eslint.org/docs/rules/
So now, each time we save our files, ESLint will automatically enforce the linting rules.